
Benefits. Beads with a "Triangle" pattern
Hello again! Today we have prepared a short lesson for beginner lampworkers.
Making such a bead is quite simple, but nevertheless it looks stylish. Why not try it!?
And so let’s begin.
We form a bead of the main color, I have black (Fig.1).

Rice. 1
On one side of the beads we place dots of the main color in a line (black). On the other side we place dots of a contrasting color (white) in a checkerboard pattern to black, as shown in the figure. The more dots on the bead, the narrower the triangles will be. If you use dots too often, you will get a striped bead (also beautiful =)).
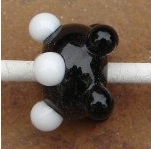
Rice. 2
We fuse the points exactly in the center of the bead. And we observe how magically =), the points flow into the middle, forming triangles (Fig. 3).
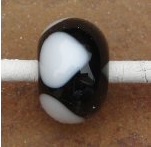
Rice. 3
Fill in clear glassas shown in the picture. The bead is ready! We send it for firing (Fig. 4).
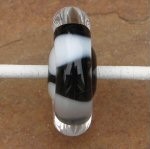
Rice. 4
You can try other color combinations, it all depends on your imagination! For example:
Violet. Will be required blue, lilac And transparent childbirth (Fig. 5).
Yellow-blue. Will be required yellow, blue, white And transparent childbirth (Fig. 6).
Green-turquoise. Will be required white, green, turquoise And transparent childbirth (Fig. 7).

Rice. 5
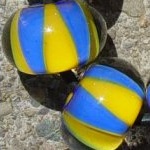
Rice. 6
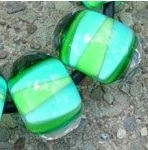
Rice. 7
Thank you for your attention, we look forward to your comments!