
Benefits. Beads with a “Wave” pattern
Hello again! Today we decided to add decorations to the tool manuals and prepared a short lesson on making beads.
Making such a bead is not difficult, but it looks very interesting. Worth a try!
And so let’s begin!
To begin, make a disk approximately 2.5 cm in diameter. For the disc I use a stringer with frits (you can take frits «Iris orange», for filling use genera «Transparent super»). Hint: — The thinner your disc, the deeper and more interesting the resulting pattern will be. I make at least 5 layers of glass for the disc (photo 1, 2).
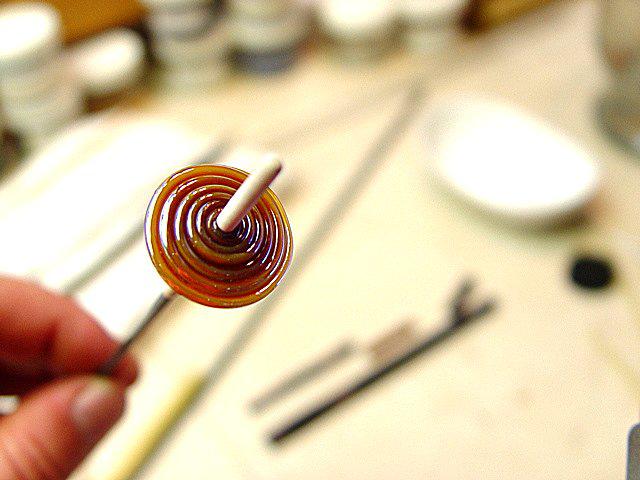
Photo 1
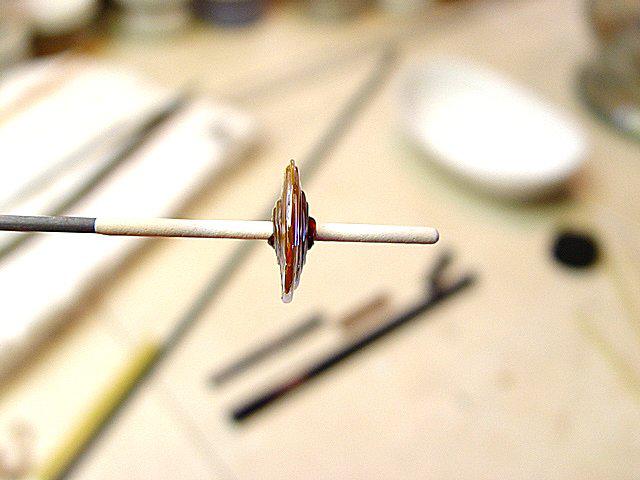
Photo 2
Next we need transparent glass. Place fairly large transparent dots on one side of the disk (it doesn’t matter which side you start from)
Tip: — Hold the mandrel perpendicular to the flame so that the disc is parallel to the flame. In this position, you can easily anneal the transparent dots from the rod (photo 3).
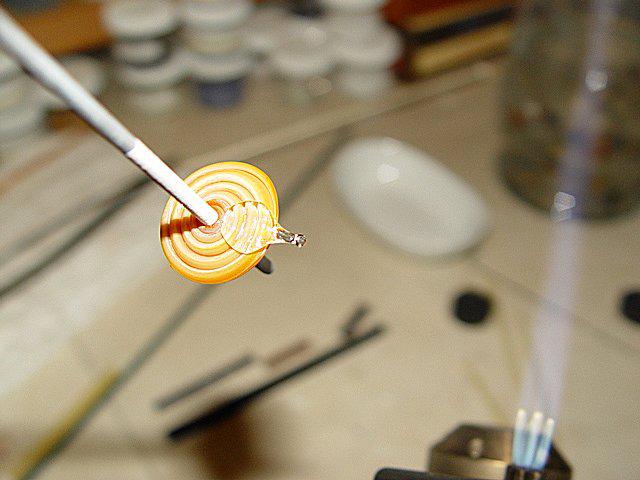
Photo 3
Place a dot of exactly the same size opposite the first one (photo 4).
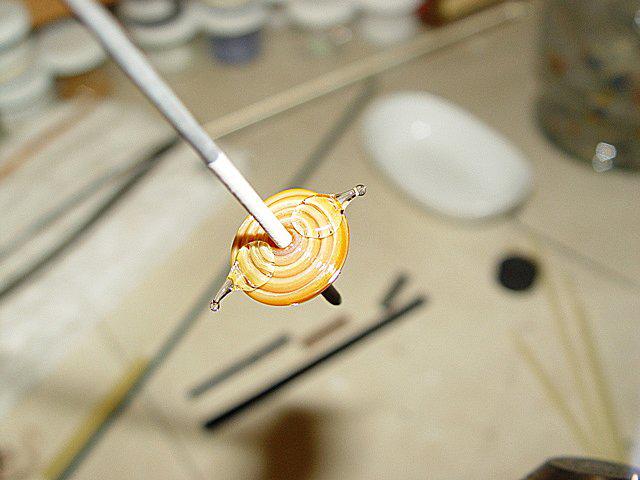
Photo 4
Again we put two of the same points as shown in photo 5.
Tips:
— The points should not touch the mandrel.
— The points should not touch each other.
— Try to make the dots as large as possible.
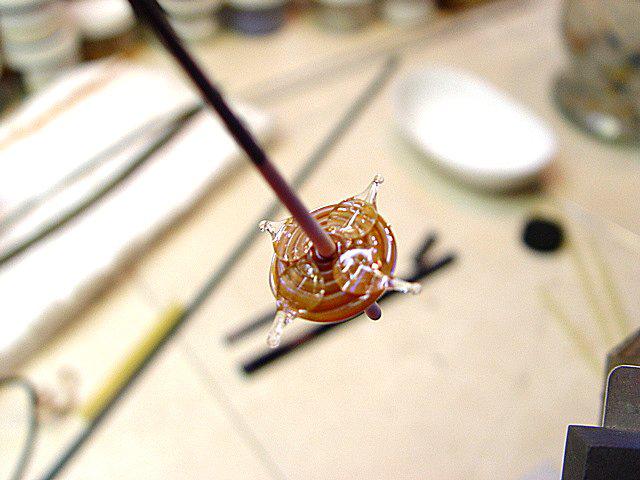
Photo 5
Now we put points of the same size on the other side of the disk, placing them between those on the reverse side, as shown in photos 6, 7.
Tips:
— Transparent dots fused in the flame will create a wave effect. The larger the dots, the wider the waves will be located on the surface of the bead.
— When placing points on the disk, do not rush to anneal them. A second’s delay will allow more glass to reach the point.
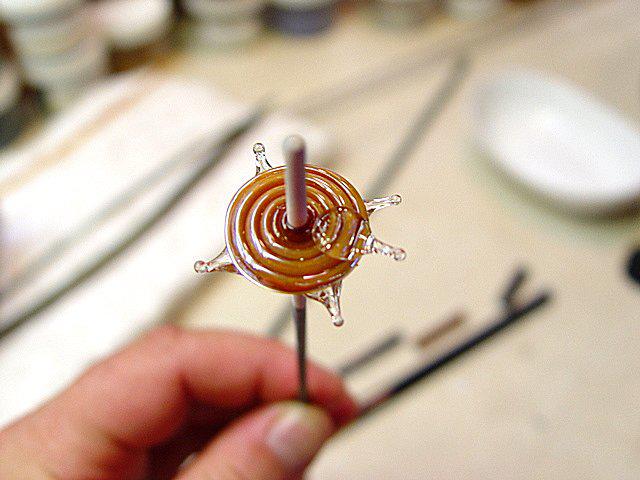
Photo 6
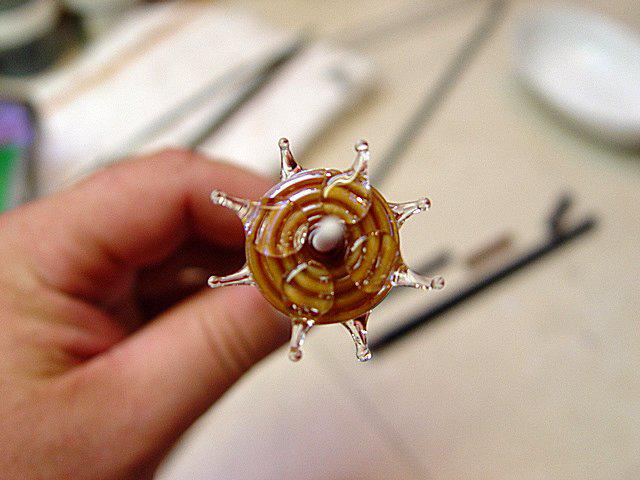
Photo 7
Fuse the dots evenly into a bead (photo 8). Hint: — Start fusing the points with the “tails” remaining after annealing the points (photo 9).
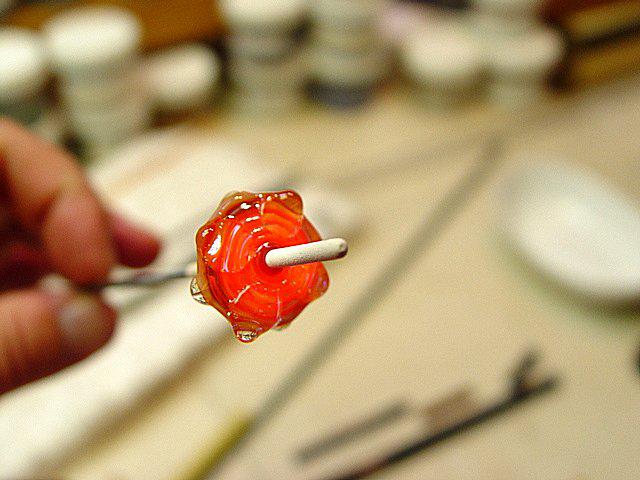
Photo 8
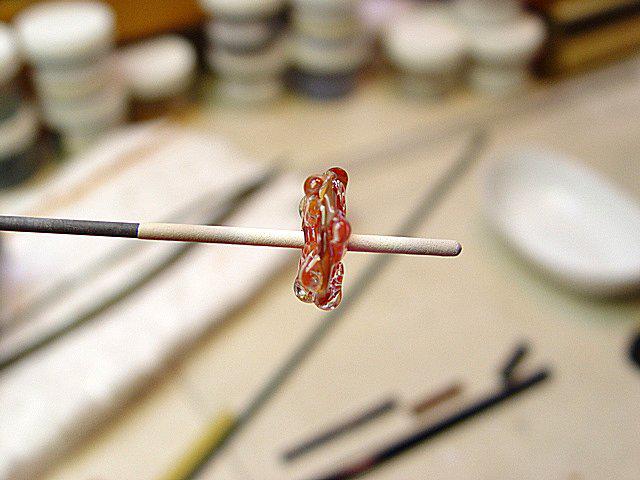
Photo 9
As soon as the transparent “tails” fuse with the edge of the disk, you can boldly fuse the points to form a bead (photo 10-12).
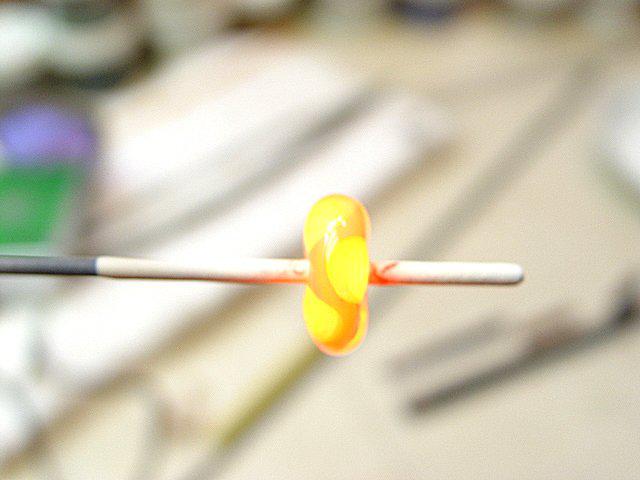
Photo 10
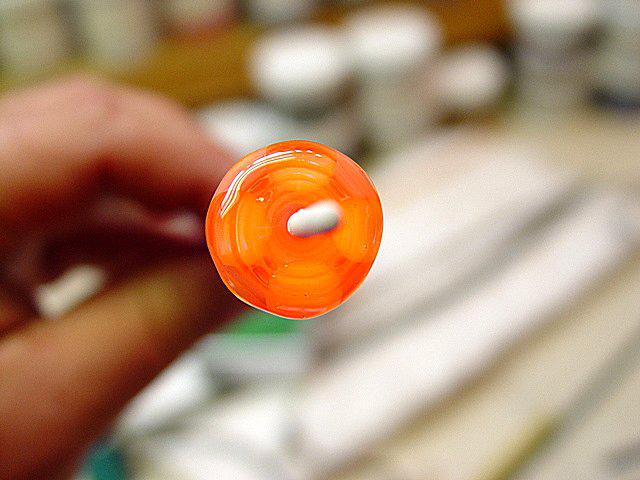
Photo 11
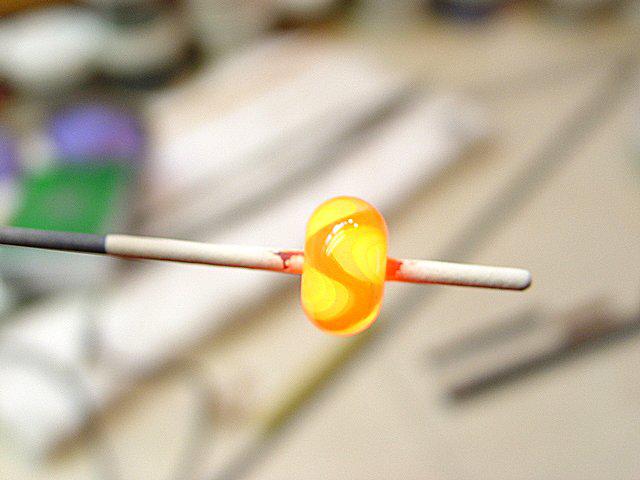
Photo 12
In photo 13 the bead has not yet been filled with transparent glass.
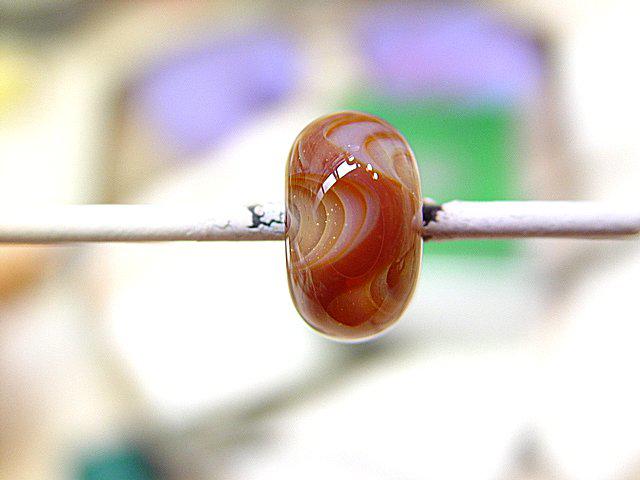
Photo 13
Here is a bead after filling with transparent glass (photo 14).
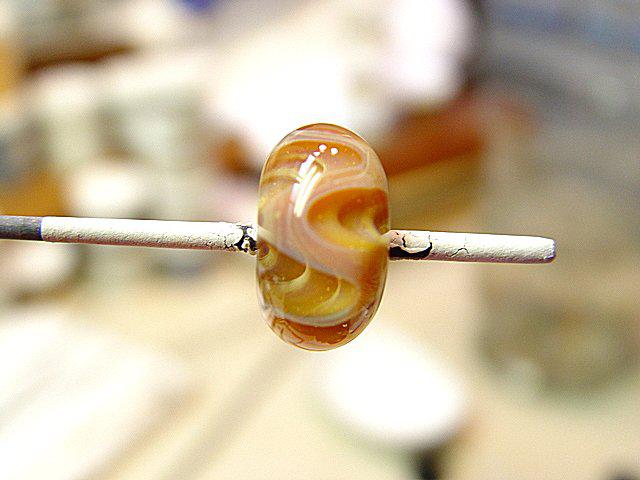
Photo 14
Our bead is ready!
Another example of a wave bead using a three-color twist (photo 15). You can try to take birth «Lilac matte», «Yellow Opal» And «Ocean». For filling we take «Transparent super».
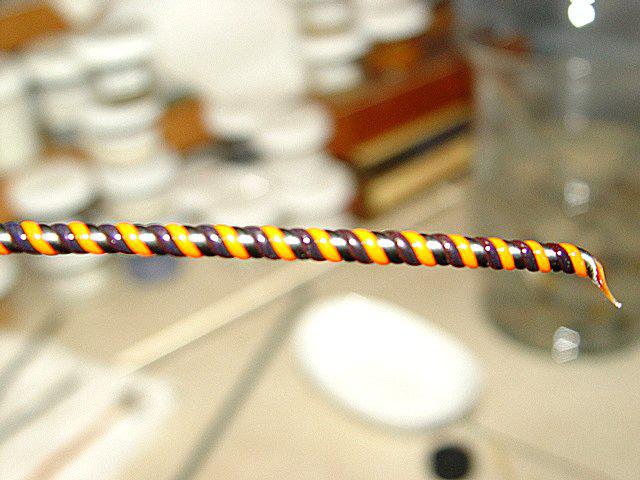
Photo 15
We make a disk from twisty (photo 16, 17).
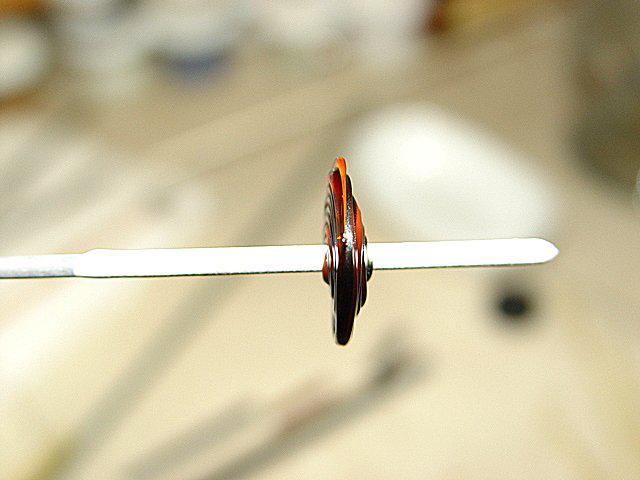
Photo 16

Photo 17
We put the points in the same way as in the previous example (photo 18, 19).
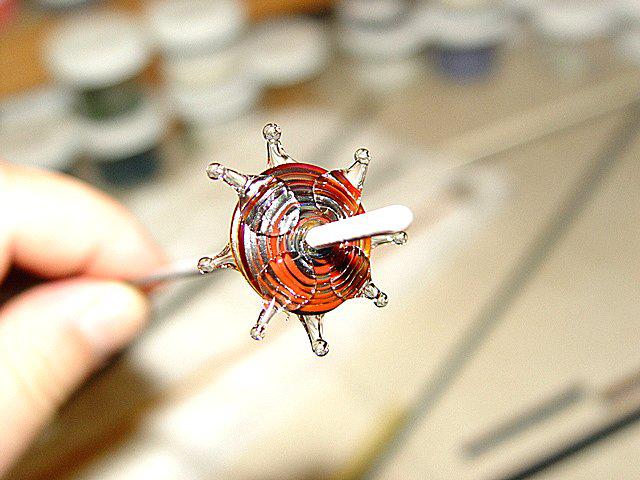
Photo 18
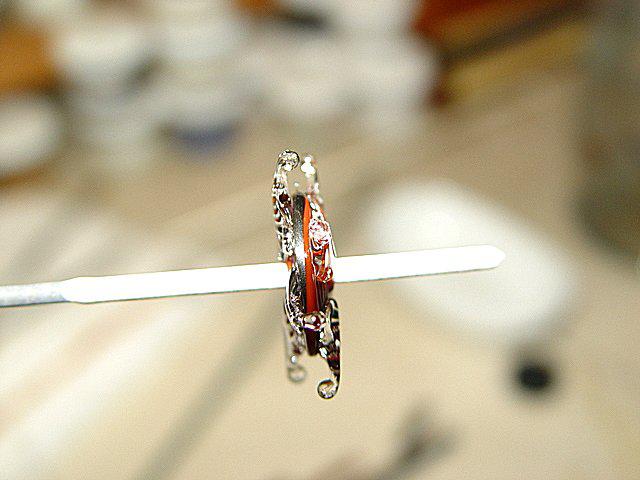
Photo 19
We fuse (photo 20).
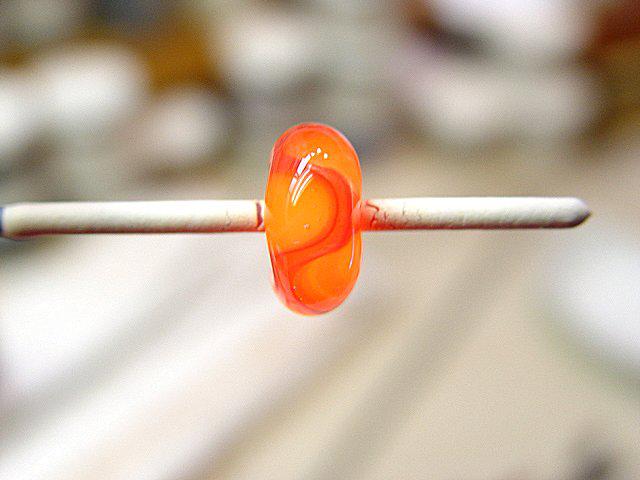
Photo 20
And we get such beauty! Before filling with transparent glass (photo 21).
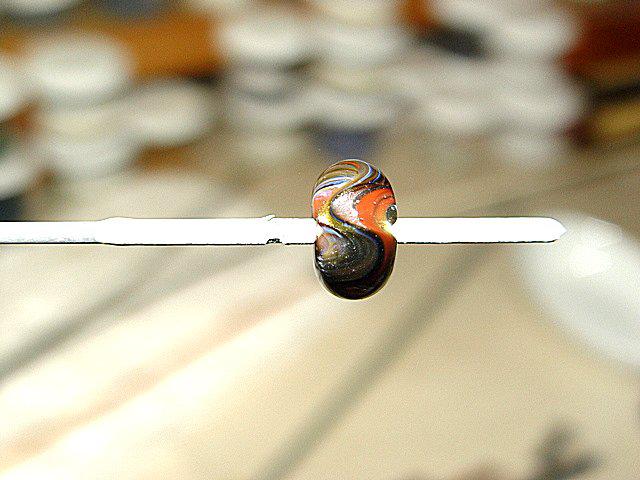
Photo 21
After pouring (photo 22).

Photo 22
Thank you for your attention, we look forward to your comments!
The manual was taken from the portal http://www.lampworketc.com (by rckeyes — Victoria’s Glassworks)