
Benefits. Wavy pattern bead
Hello. Today we have translated a tutorial on making beads with a wavy pattern
Sometimes, during experiments at the burner, several techniques are mixed, which leads to interesting results. Let’s see what can happen!
For such a bead you will need glass:
—Intense black premium transparent;
—Transparent super (and transparent stringer);
-Silver-containing stringer, for example Metallic green.
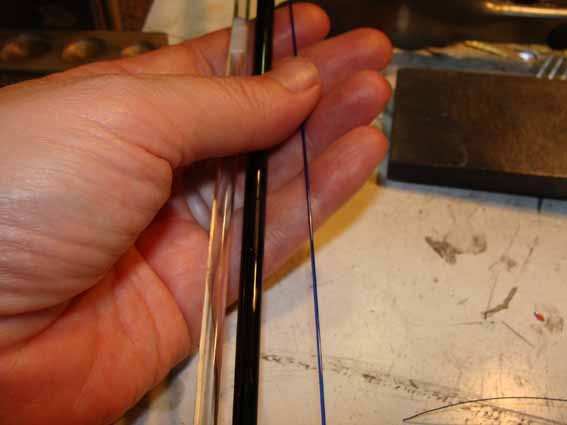
Photo 1
We make from black glass disk on a mandrel of approximately three turns (photo 2). Then we melt it into a wide donut (photo 3).
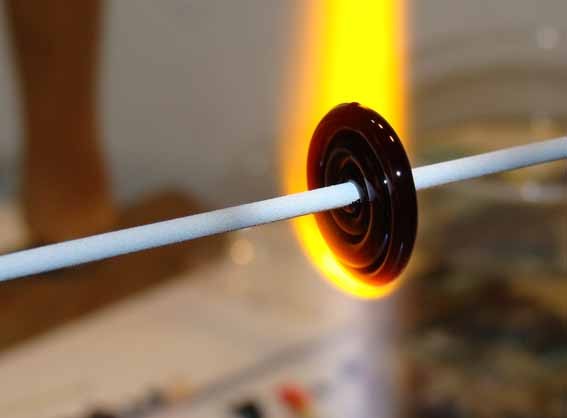
Photo 2
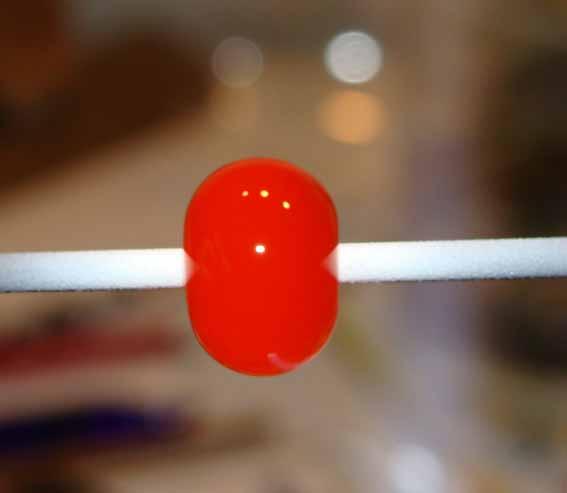
Photo 3
Add two turns in the center of the donut transparent glass “Bathe” it in the flame a little so that the new layer sticks to the bead (photo 4).
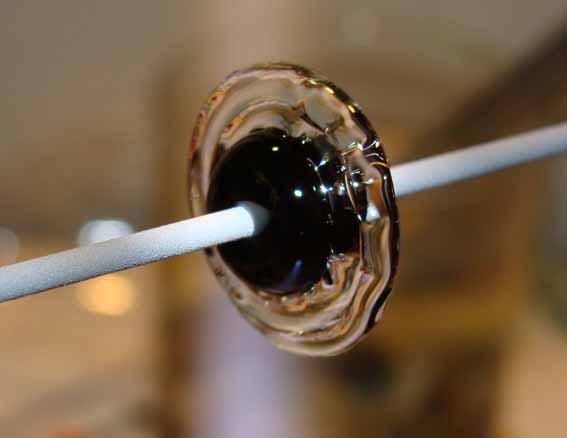
Photo 4
Apply a series of dots along the edge of the resulting disk using a colored stringer (photo 5). Any glass will do. Do you want a rainbow? Forward!
Do not fuse entire points. Just melt them in slightly.
If you are using a silver stringer, now is the time to reduce
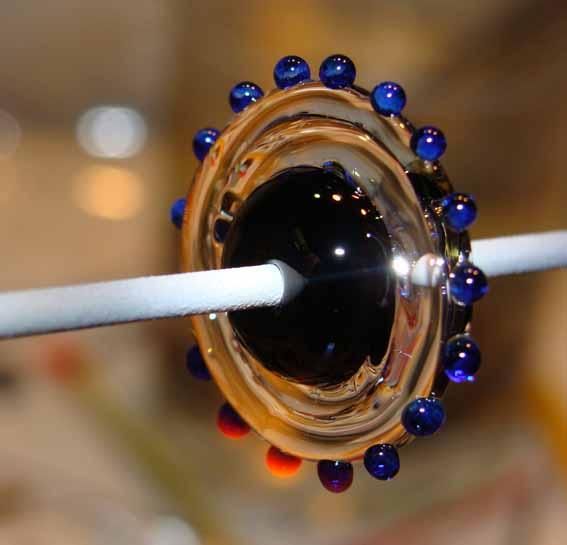
Photo 5
Warm up the drop transparent glass After making sure the drop is soft enough to fill, add two clear swirls on top of the dots. (photo 6).
Then gradually heat the surface of the glass. If the center of the bead glows red, remove from the flame and allow the glass to slowly spread. It will stretch the points to the edges (photo 7).
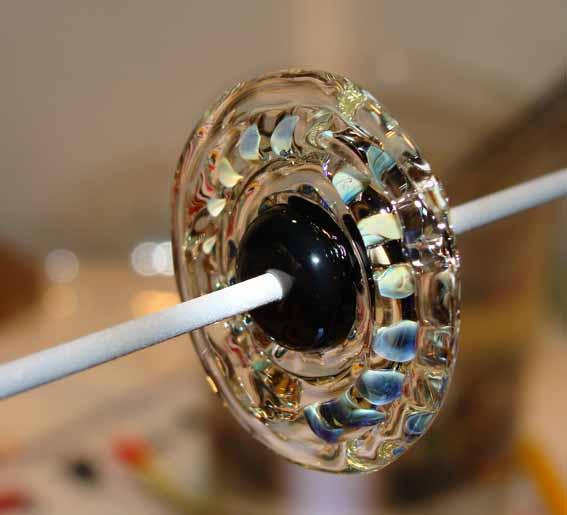
Photo 6
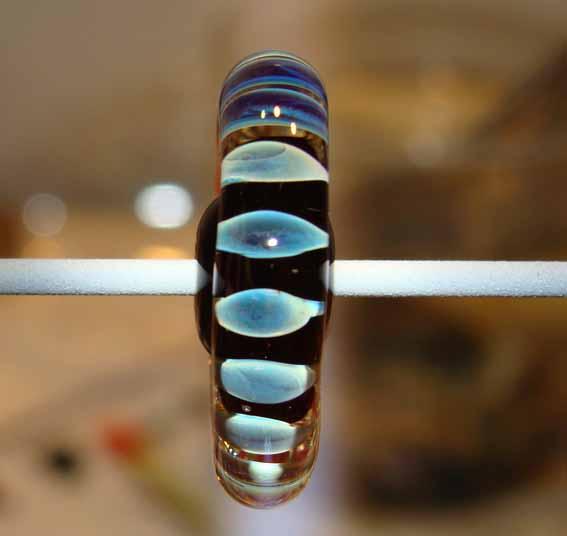
Photo 7
To better stretch the points, heat the bead alternately from different sides (photo 8). While heating one side, make sure the other side has cooled so that you can only tighten half of the bead.
You can hold the bead at a 45 degree angle, allowing the fill to flow towards the mandrel (Photo 9). This minimizes the base color sticking out at the bead hole.
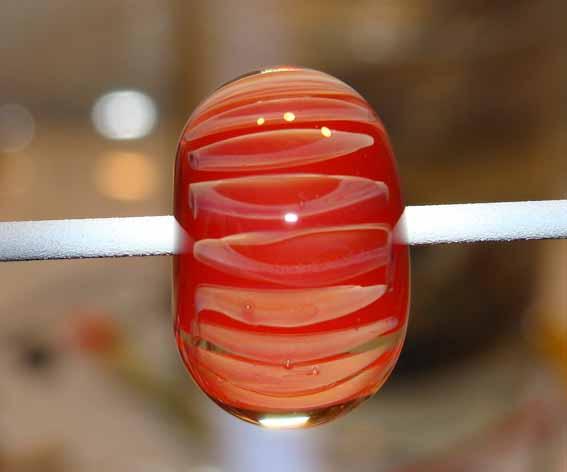
Photo 8
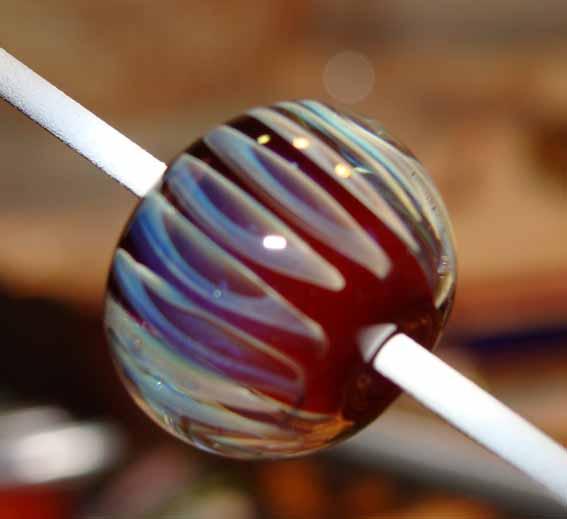
Photo 9
The bead should look like in photo 10. Warm it up to the base layer.
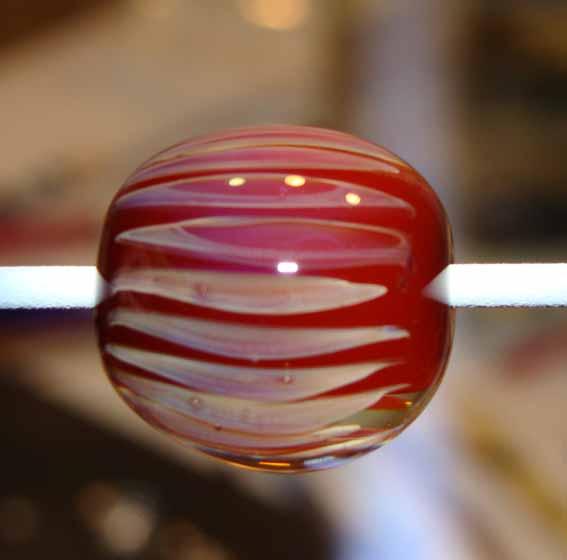
Photo 10
Using straight forceps or parallel press, gently flatten the bead by turning it 180 degrees. Form a cylinder (Photo 11).
Continue flattening it evenly to the desired size (photo 12).
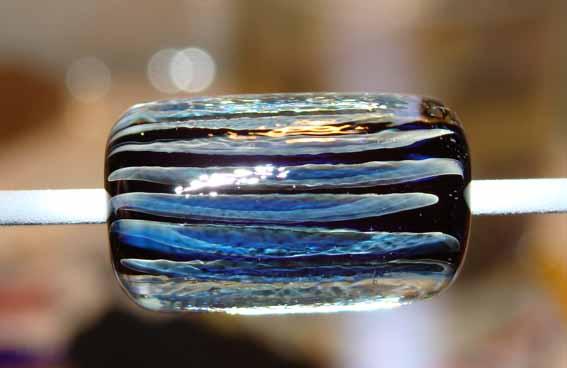
Photo 11
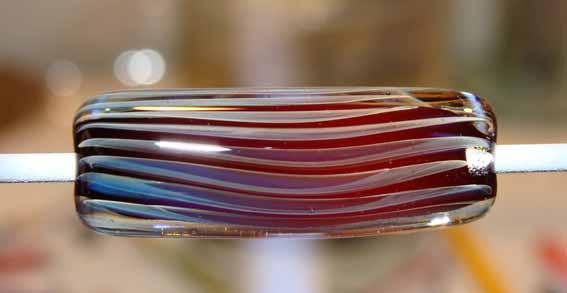
Photo 12
Heat the center of the bead thoroughly and let the strips drain (photo 13). Or use graphite padto stretch the strips.
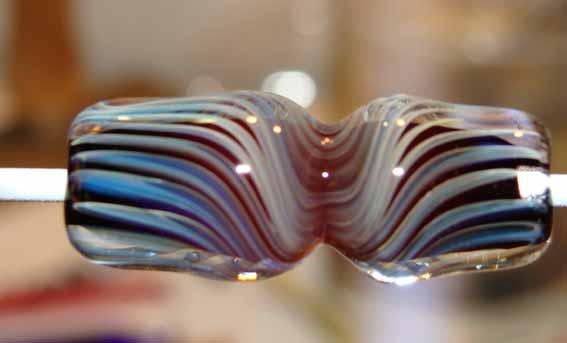
Photo 13
Use a clear stringer to create curls and offsets in the preheated areas of the bead (Photo 14). Experiment!
When the desired effect is achieved, again give the bead a cylinder shape using forceps or press (photo 15).
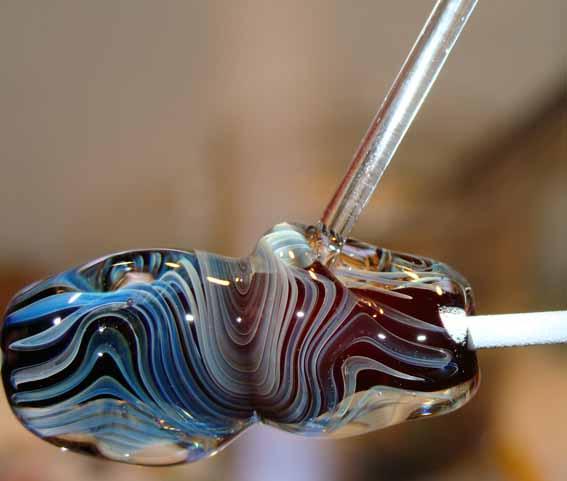
Photo 14
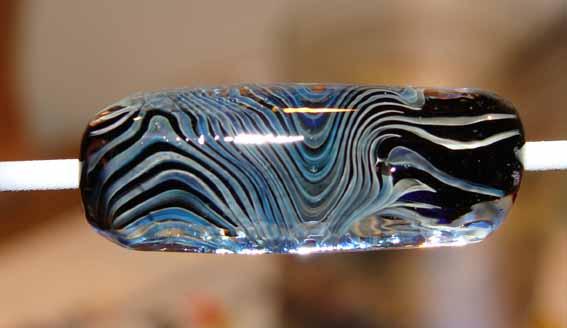
Photo 15
Fill the bead transparent glass (photo 16, 17) and make sure that the edges are smooth and neat.
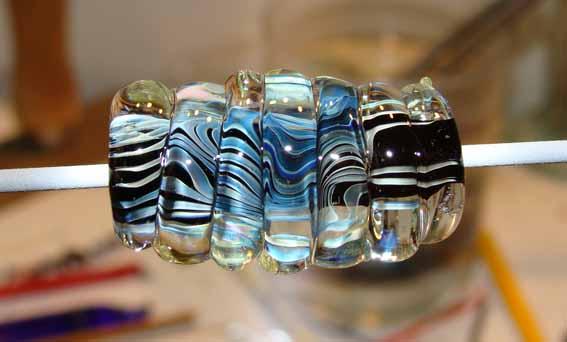
Photo 16
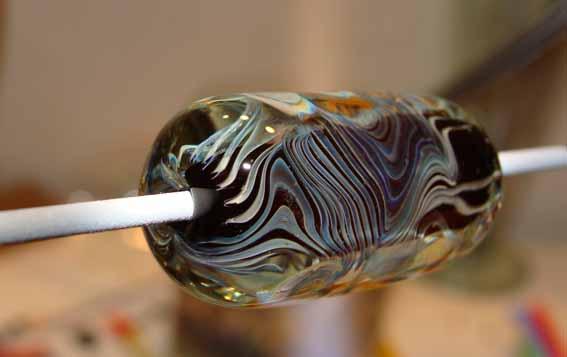
Photo 17
When the bead is ready, we send it to a muffle furnace or a ceramic blanket. I do not recommend flattening the bead before putting it in the oven. This manipulation will increase the likelihood of a crack appearing.
Thank you for your attention and good luck to you!
The manual was taken from the portal http://deesignedbeads.blogspot.nl (by Diana Ferreira)